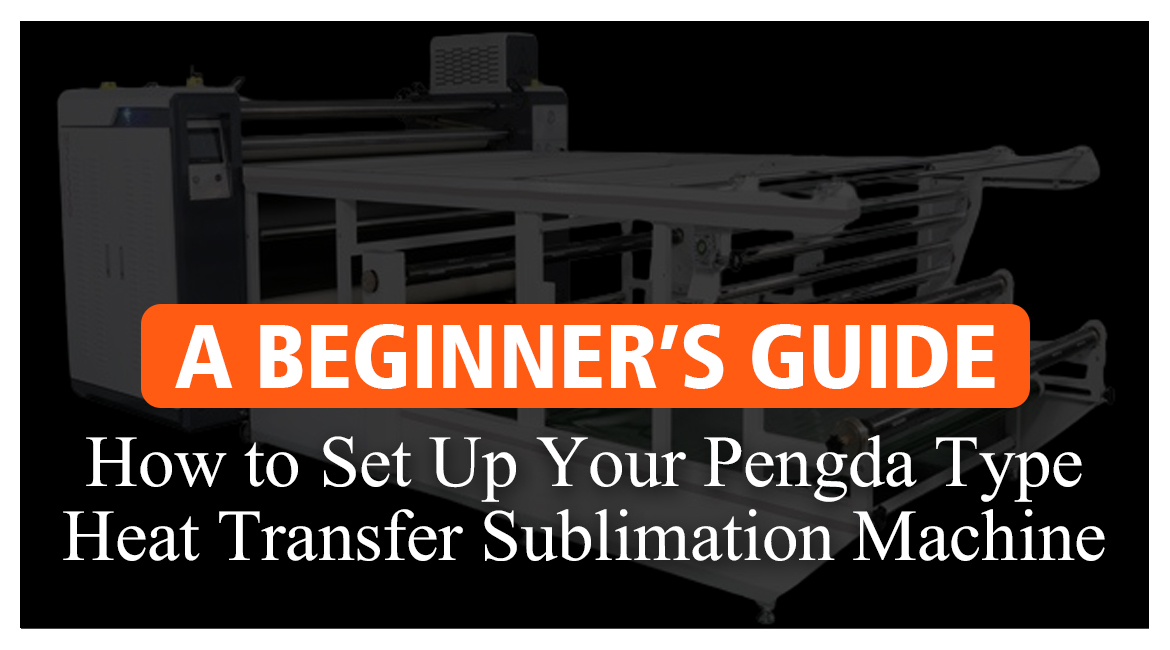
How to Set Up Your Pengda Type Heat Transfer Sublimation Machine: A Beginner’s Guide
Heat transfer sublimation machines are essential tools in fabric printing and garment decoration, especially in industries like textile manufacturing. Among the top brands is Pengda, known for its efficiency and user-friendly features. While setting up a Pengda Type Heat Transfer Sublimation Machine may seem challenging for beginners, this guide will help you get your machine up and running smoothly.
Why Choose Pengda Type Heat Transfer Sublimation Machines?
Before diving into the setup process, it’s important to understand why Pengda machines are a top choice in the industry. Known for their durability, precision, and ease of use, Pengda machines incorporate advanced heat distribution technology and ergonomic designs. Whether you’re a professional or a hobbyist, these machines offer flexibility and reliability.
Pengda heat transfer machines can handle various materials, including textiles, ceramics, metals, and wood. This versatility allows you to expand your business without needing multiple machines.
What You Need Before Setup
Before you begin, gather these essential items:
- A stable and spacious work area: Ensure it’s clean, well-lit, and large enough for the machine.
- Heat-resistant tape and heat gloves: These will help secure the transfer paper and protect your hands from high temperatures.
- Materials for printing: Have your T-shirts, mugs, or other items ready.
- Transfer paper and sublimation ink: Make sure you have compatible supplies for your Pengda machine.
- A sublimation printer: You’ll need this to print your designs on transfer paper.
- A reliable power source: Ensure the voltage matches your machine’s requirements.
Step 1: Unboxing and Inspecting Your Machine
Carefully unbox your Pengda heat transfer sublimation machine. Check for any missing or damaged components. You should find the following:
- Heat press unit
- Control panel
- Pressure adjustment knob
- Power cable
- Instruction manual
Important: Before plugging in the machine, thoroughly read the user manual to familiarize yourself with its features and instructions.
Step 2: Assembling Your Machine
Pengda machines are designed for easy assembly. Follow these steps:
- Install the heat press platen: Secure the platen to the base with screws.
- Attach the control panel: If not pre-attached, slide it into place and tighten the screws.
- Connect the power cable: Plug the machine into a dedicated outlet, ensuring it can handle the power load.
Step 3: Configuring the Control Settings
Now, set the machine’s parameters:
- Temperature: Use the control panel to adjust the heat based on the material. For example, cotton fabrics need higher temperatures than polyester.
- Time: Set the time according to your transfer paper and material. Most transfers take 30-60 seconds.
- Pressure: Adjust the pressure knob depending on the thickness of your material. For thicker items, increase the pressure.
Pro Tip: Test your settings on a sample before starting bulk production to ensure quality.
Step 4: Preparing the Transfer and Material
Prepare your material and design for transfer:
- Pre-press the material: Place your item on the lower platen and apply heat for 3-5 seconds. This removes wrinkles and moisture.
- Position the transfer paper: Place the printed side of the paper face-down on the material. Use heat-resistant tape to secure it in place.
- Align your design: Ensure the design is properly centered and aligned.
Step 5: Pressing the Transfer
Follow these steps to complete the transfer:
- Place the material and transfer in the press: Lay the material flat on the lower platen and close the press.
- Press down firmly: Use the handle to apply heat and pressure. The machine will count down based on the time you set.
- Wait for the timer: Once it reaches zero, the machine will beep, signaling the transfer is complete.
- Carefully remove the transfer paper: Open the press and slowly peel away the paper. Both the material and the platen will be hot, so use caution.
Step 6: Cool and Finish Your Product
Allow your material to cool before handling. Cooling helps set the ink, ensuring long-lasting, vibrant designs. For items like mugs, consider placing them on a cooling rack to prevent cracks.
Step 7: Troubleshooting Common Issues
Even with proper setup, issues can arise. Here’s how to solve some common problems:
- Blurry prints: Check the pressure and ensure the transfer paper is securely taped.
- Uneven transfers: Make sure the fabric is flat and free of wrinkles.
- Faded designs: Verify the temperature and time settings are correct for the material.
Always refer to the user manual for more specific troubleshooting tips.
Conclusion: Set Up Your Pengda Heat Transfer Sublimation Machine with Confidence
By following this guide, you’ll have your Pengda Type Heat Transfer Sublimation Machine set up and ready to produce high-quality prints. Whether you’re just starting out or looking to expand your production capabilities, the Pengda machine offers a reliable and versatile solution for all your fabric printing needs.
